Project II: Install a Roof Top Tent (RTT)
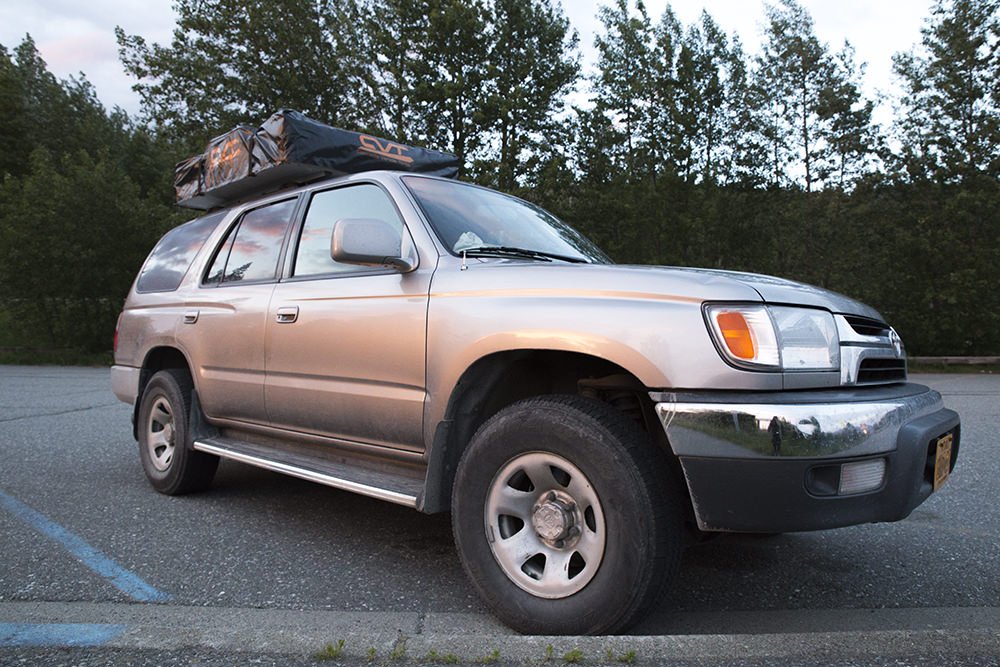
Roof rack… check.
Roof top tent… check.
…that’s everything, time to put them together!
We had seen CVT’s (Cascadia Vehicle Tents ) tent display previously at the Overland Expo in Arizona and had decided on this brand for a couple of reasons:
- They were big enough to fit a tall person with room to spare, and
- They were cheaper than any of the other brands we had looked at.
So, once we were in Anchorage we looked up the local dealer and got in touch. I spoke to Ben at Overland Alaska on Friday who at that point told me that he brings the tents in to order and wouldn’t know what was available until after the weekend.
So with the intention of ringing back and ordering first thing on Monday, I called late on Tuesday and ordered a Mt. Shasta CVT tent. It was at this time we started to appreciate how far away from mainland USA Alaska was in regards to distance, delivery time and cost.
Despite the challenges posed by the distance to be covered, a week and a half later we got a text—our tent had arrived—Great news!
Then we got the call, the shipment had been damaged—Not such great news!
Despite this, Ben at Overland Alaska sweet-talked the owner of the other tent in the shipment into letting us have first dibs, even though he had placed his order first. Turns out that the tent we opened was sufficiently undamaged, assembly could begin.
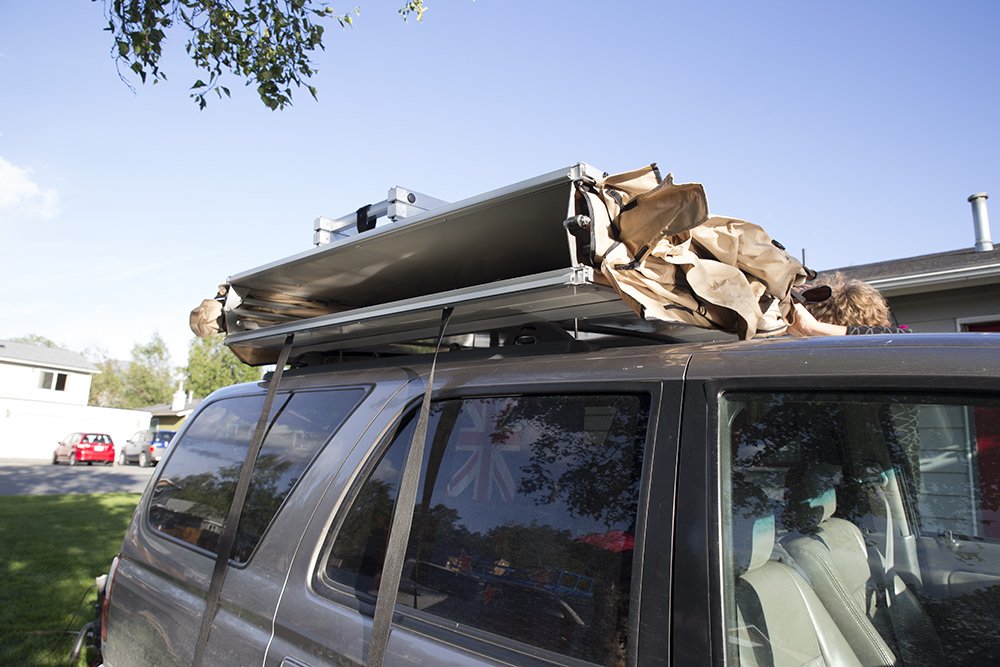
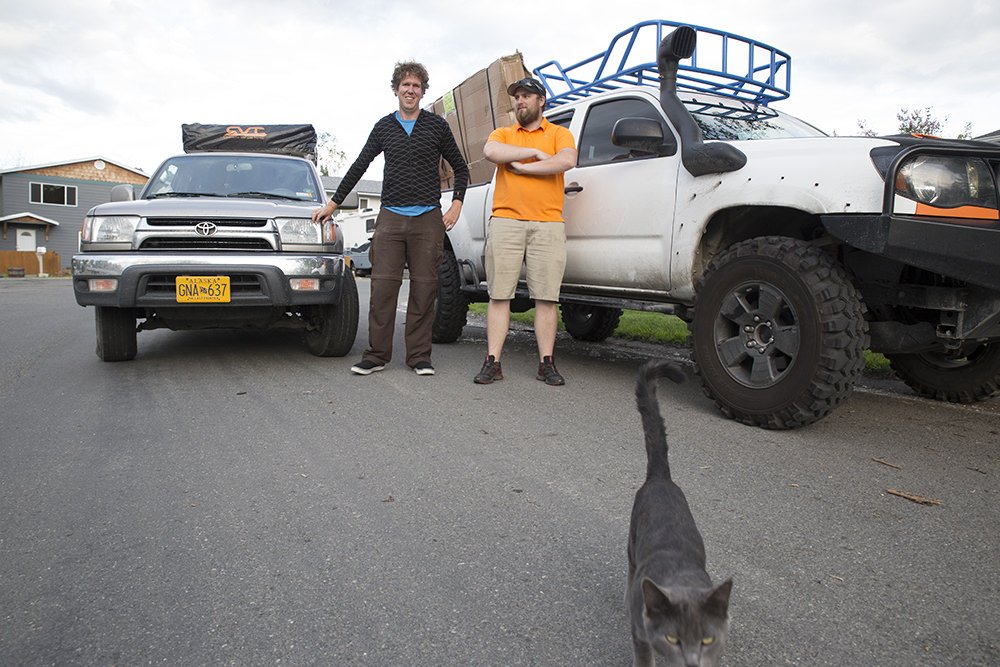
So with tools in hand on Ben’s front lawn we set about putting together and attaching the tent. (Who knew installation was included when we placed the order?)
We learnt three things assembling/installing the tent:
- Reading instructions is not our strong point
- Nobody really needs to read them anyway
- There are a surprising number of innuendoes associated with rooftop tent installation (We’ll leave these to your imagination)
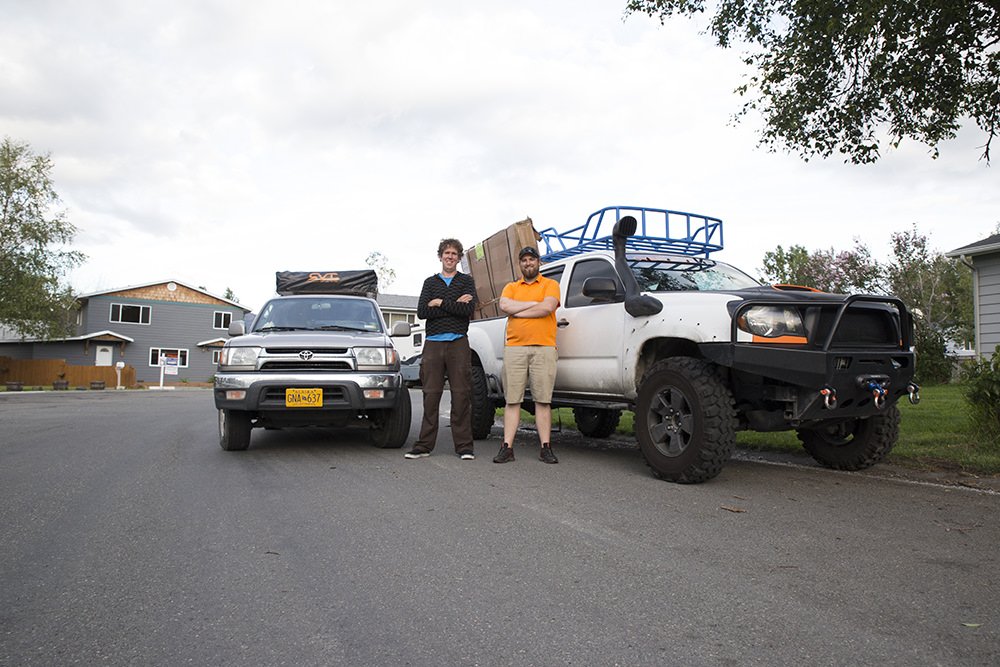
After only having to redo a couple of things due to poor planning, the build was complete. The 4Runner had her new hat and we had access to our new penthouse suite.
Luxury.
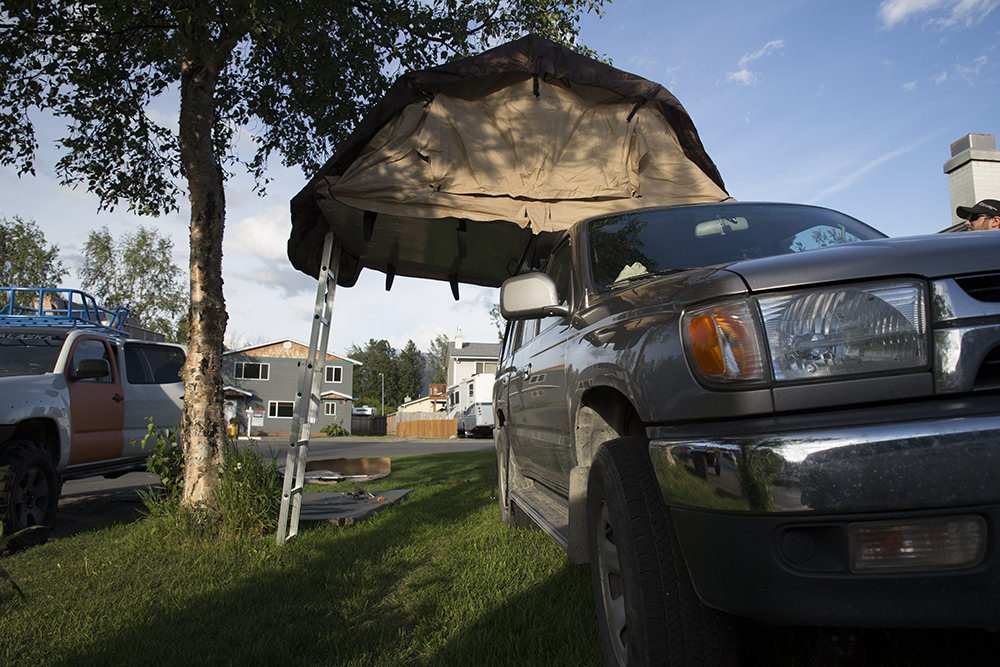
The tent has proven to be a great conversation starter at campgrounds. Even people with fancy luxurious RVs with satellite TV, kitchens, showers and dune buggies in tow are intrigued by our little fold out masterpiece and will pop by for a quick tour.
Once actually attached to the roof rack the task of setting up camp for the night is pretty quick. Just a couple of minutes, if you don’t attach the awning. A few more if you need the awning zipped on to keep the mozzies at bay.
Folding it up to travel is equally simple and hasn’t caused to many domestic disputes yet. Although we have found that having a strategy to disassemble at speed is best if racing against mosquitoes or rain.



Ben Bacher
I made it!
Julie Mouat
So pleased that project 11 has been revealed and completed 🙂
Emma
Yes, we had to build up the suspense for top secret project II. 😀
Rhonda
Looks cozy! Welcome home.
Pingback: Too much stuff: A Second Roof Rack | Flightless Kiwis
James
Do you know how much weight the roof can take? I’ve been curious about a roof tent but I didn’t think my poor 4Runner would handle my 100KG plus the missus. Evidently I must be wrong.
Emma
The original factory rack definitely couldn’t take our weight. But everything seems to be holding up fine with the new Thule rack + RTT +a bunch of stuff on the front. Not sure what the actual weight limit of the roof would be though…