First project: Build a storage/sleeping platform.
We already knew we would need some sort of storage/sleeping solution before we purchased any vehicle and in true flightless fashion decided to restrict planning to an absolute minimum. We already had a rough idea of what we wanted from seeing other setups, researching online and from having half built one for our old Hilux.

Sum total of platform planning.
First on the list of things to do … buy some building materials. We could see online what Home Depot had on the shelf so it was easy enough to get an idea of what we needed. Wood, Screws and Glue. We bought several sheets of 3/4 – 2’x4’ plywood and had them cut down the middle giving us 8 1’x4’ sheets, these are going to be our vertical pieces. We also bought 3 sheets of sanded 1/2 – 2’x4’ sheets for the top of the platform. For areas that needed extra strength we grabbed a couple of lengths of 3/4”x4” timber. We also bought the cheapest drywall screws and wood glue we could find. Once we had it all we went back to our accomodation to put it all together on the side of the road.

Raw materials.
Off course the first step to any building job is to clear the construction site so … out came the back seats. We had discussed keeping some or all of them but it quickly became apparent we needed space over unused seating.
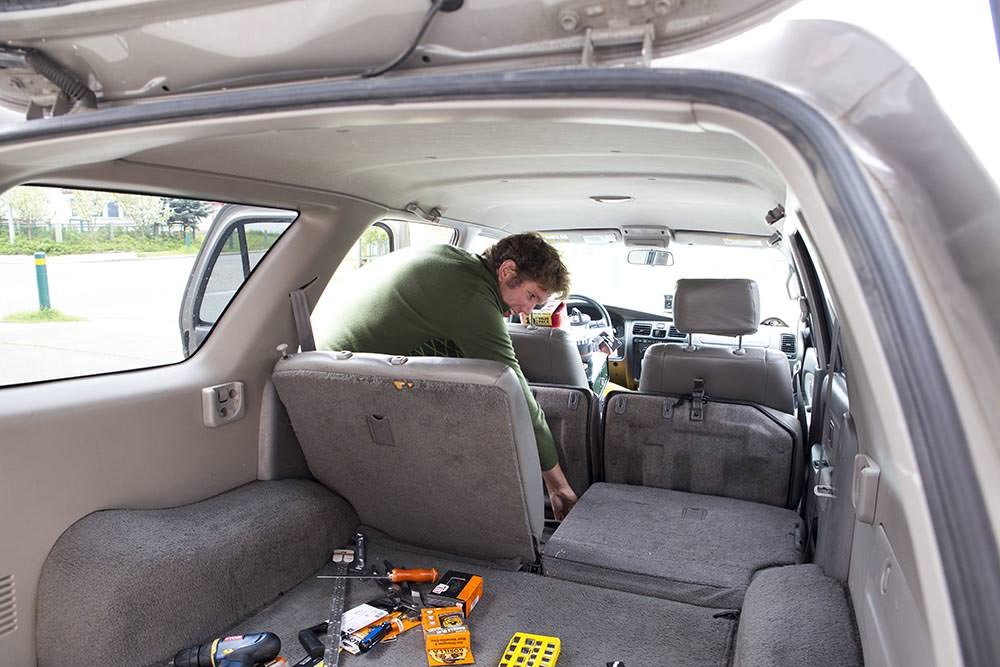
Clearing the building site.
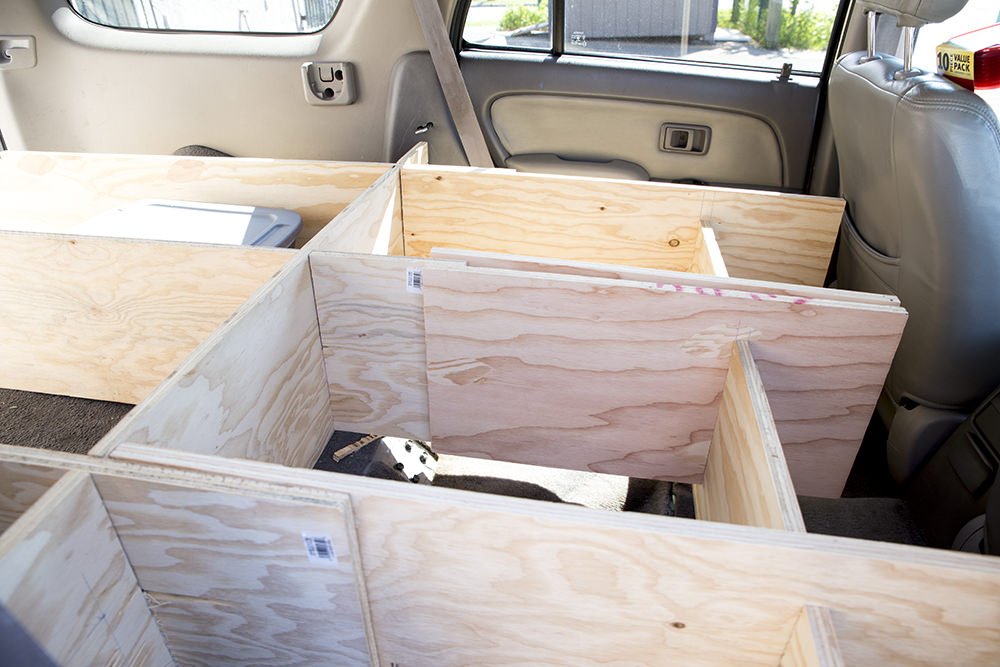
Once the rear area was clear we started setting out the wood to get a feel of how it would go together. Seeing as we had already purchased a few plastic bins the decision on spacing was already pretty much decided.

Laying out the main section of platform support.
We started at the back and worked forward, seemed to be the easiest direction. The back section went together fairly quickly.
Back section almost complete. Emma supervising.
The configuration of the front section was largely dictated by how we had put together the back, we just had to figure out how to build the lower section of the front support to make sure the platform would be level. All levels were achieved by assuming the boards were cut straight and double checked with the eye-ometer.
“Hmmm, … yep, that looks about right”
Once the frame was together we applied some construction insurance in the form of a small bottle of Gorilla glue. Two hours later it was as solid as a rock.

Construction insurance, commonly known as wood glue.
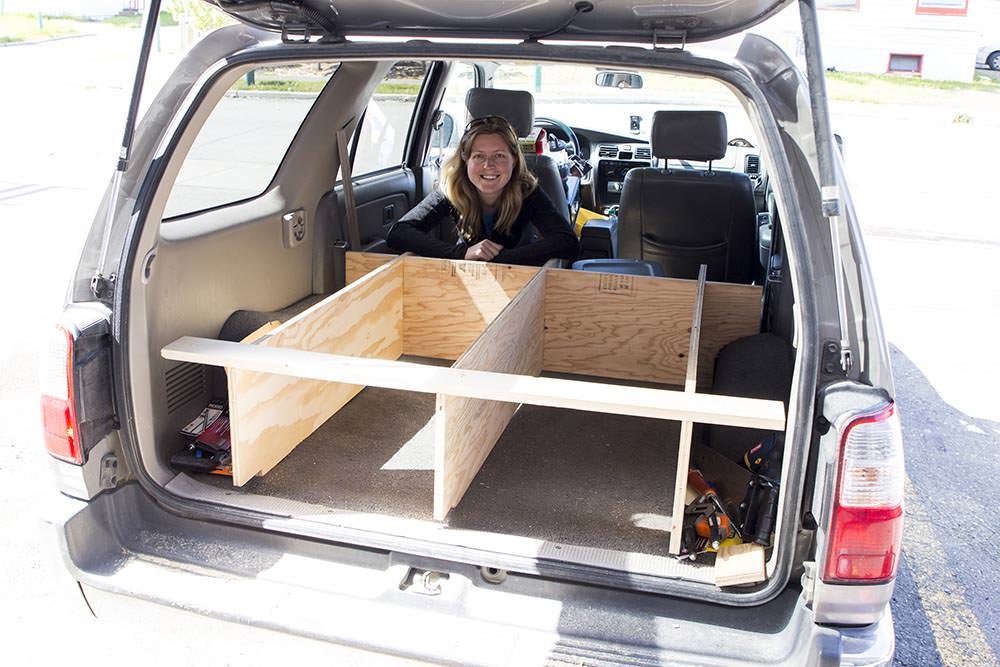
Next step was to install the top of the platform.

Top surface of the platform.
We had to allow for the factory side compartments in the rear to still be easily accessed. We also needed access in the front to the centre sections of the frame, to do this we cut the sheet that would cover this and hinged them to allow access.


Once it was all put together we secured the the platform to the car with six ties.
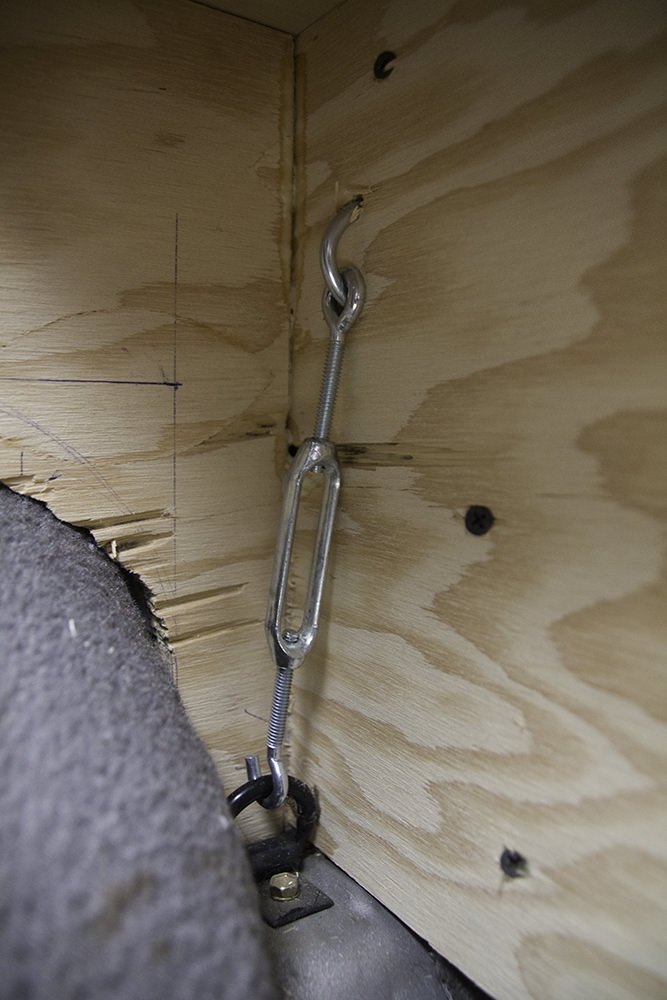
Ties holding the platform down.
… and there you have it with minimal planning and a little unaided math stage 1 of our 4runner sleeping platform is born. We already have thoughts and ideas to expand and improve on this design so stay tuned for what will most likely be a never ending project.
JFDI Overland
Fabulous job guys! I’m giving to pick up an “eye-ometer” next time at the depot 🙂
Emma
I hear they can be a little unreliable…